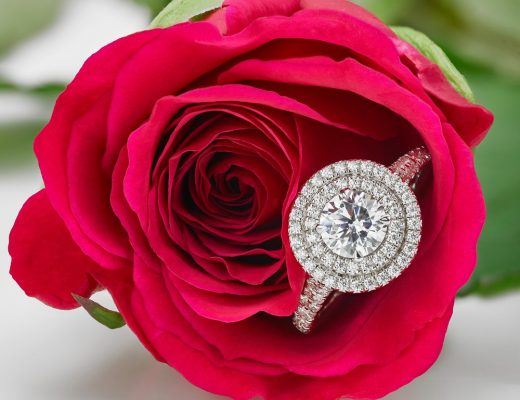
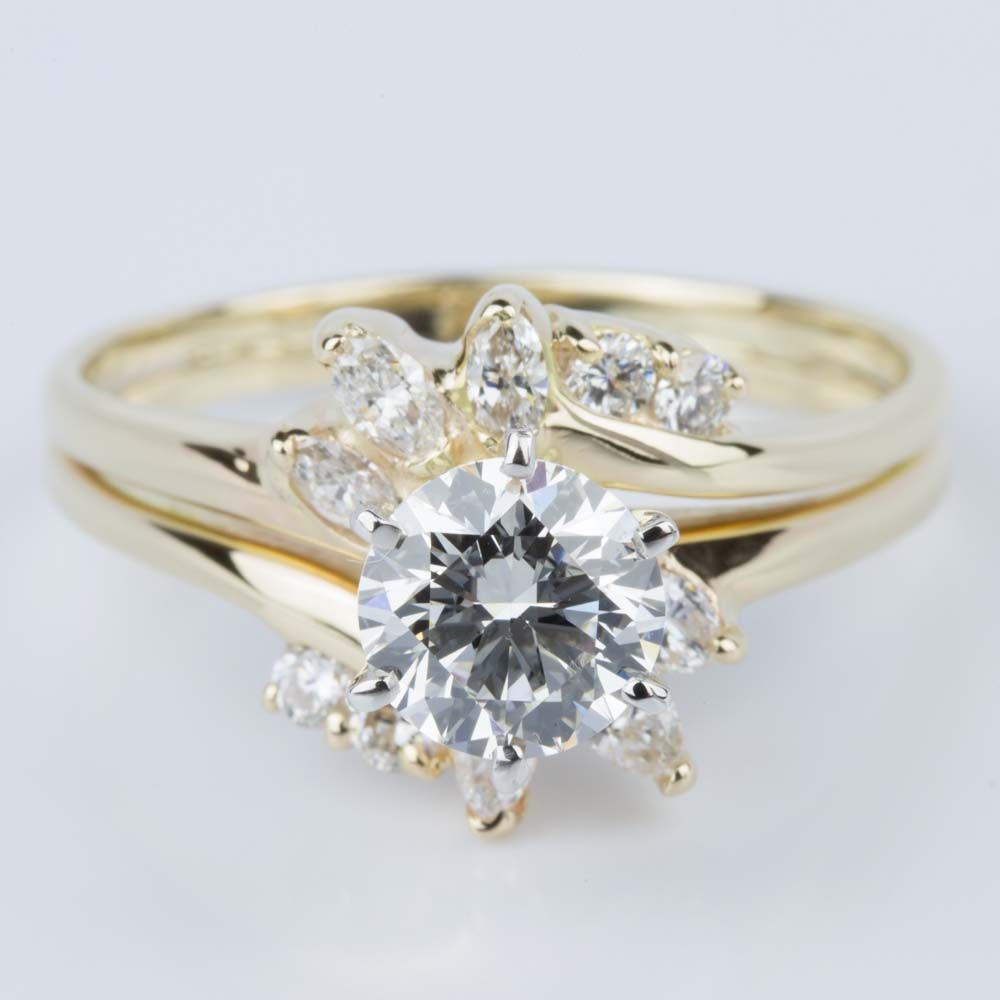
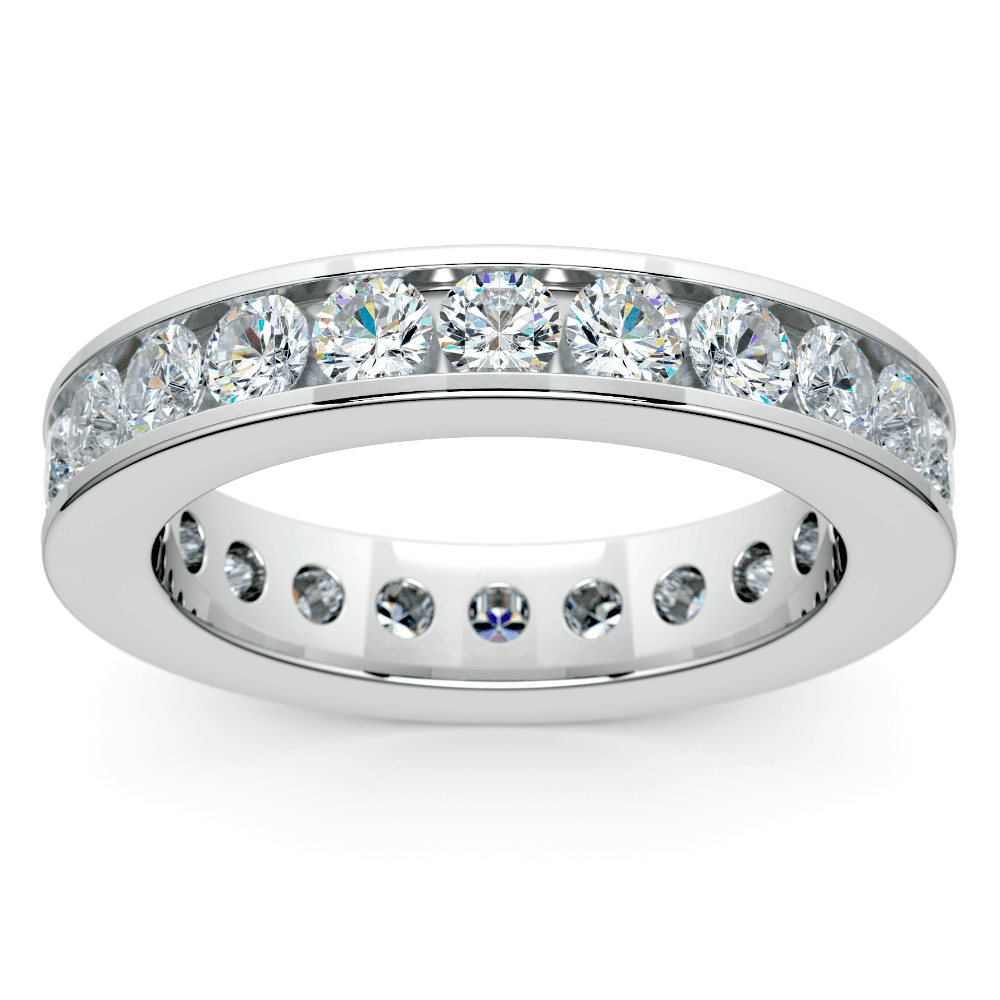
With the development and popularity of 3D printing technology, the option to build your own engagement ring is easier (and more affordable!) than ever. Express yourself with a custom ring design that is indicative of your individuality and personal style while also symbolizing your love and commitment. And don’t be intimidated to build your own engagement ring; the process is easy…and fun! The best part, though? No one else will have the same ring!
Ready to build your own engagement ring? Here are a few design ideas for an amazing custom design! Take these details and integrate them into your own ring or use the inspiration as the beginning of an even more amazing personal design. After all, there is no one way to craft perfection! You’re the designer and the ring is your unique masterpiece.
Step 1: Choose Your Metal
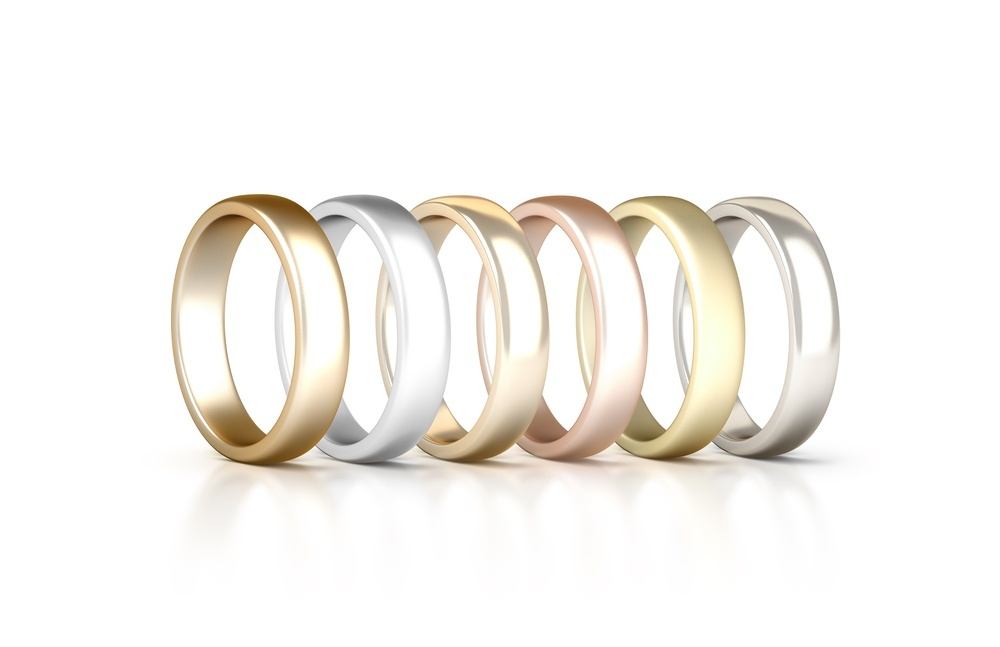
Before embarking on the journey of ring design, you should decide what metal (or metals) you want for your ring setting. This can be the metal that flatters your complexion…or just the metal(s) you love the most. Cool toned metals are silvery in hue, and the most popular cool metals include Platinum (which is also one of the most expensive), Palladium (similar in color and durability as Platinum), White Gold (yellow gold mixed with a cooler metal), Yellow Gold and Rose Gold (Yellow Gold mixed with copper). While cobalt and zirconium are options for wedding bands, these metals are typically not used for engagement rings when strength and durability are a must for valuable centerpiece stones.
Step 2: Design the Details
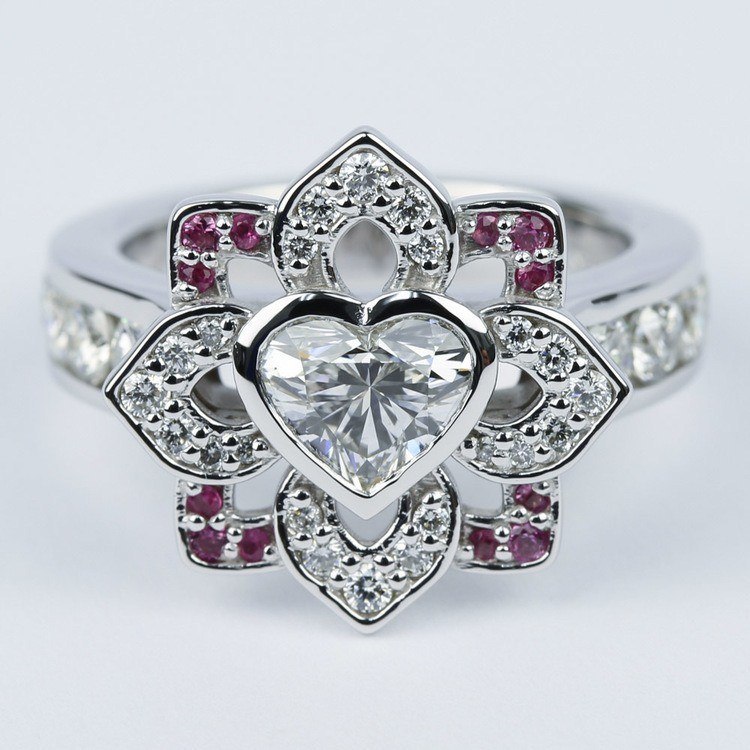
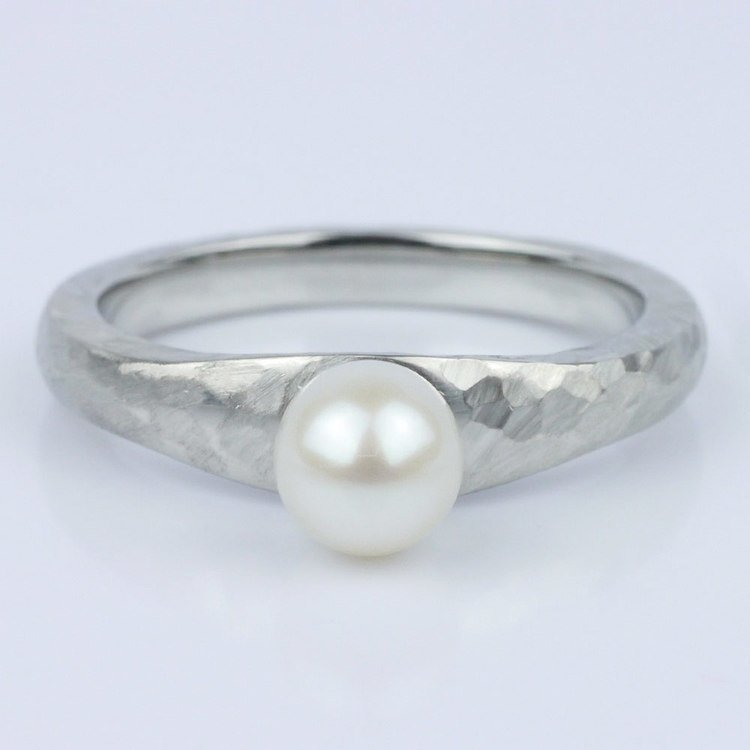
The details of the ring are what make the piece truly your own. That doesn’t mean, however, that your design must be filled with lavish etchings or lots of diamonds. Build your own engagement ring design with whatever details you desire. If you want to include stunning scrollwork, carved initials, nature-inspired designs…do it! You also can cover the entire band in diamonds or gemstones. Or choose a literary theme with the Hogwart’s House symbols bordering your center stone. Your ring is your ring. Get inspired and design the look you want!
Step 3: Choose Your Centerpiece
Diamond engagement rings are a traditional choice. But many brides and grooms buck tradition for their engagement ring! If you want a Moissanite, a colorful gemstone or a bold black diamond for your centerpiece, then go for it! On a budget and need a smaller diamond? Use a diamond or gemstone halo to make a more diminutive diamond appear larger.
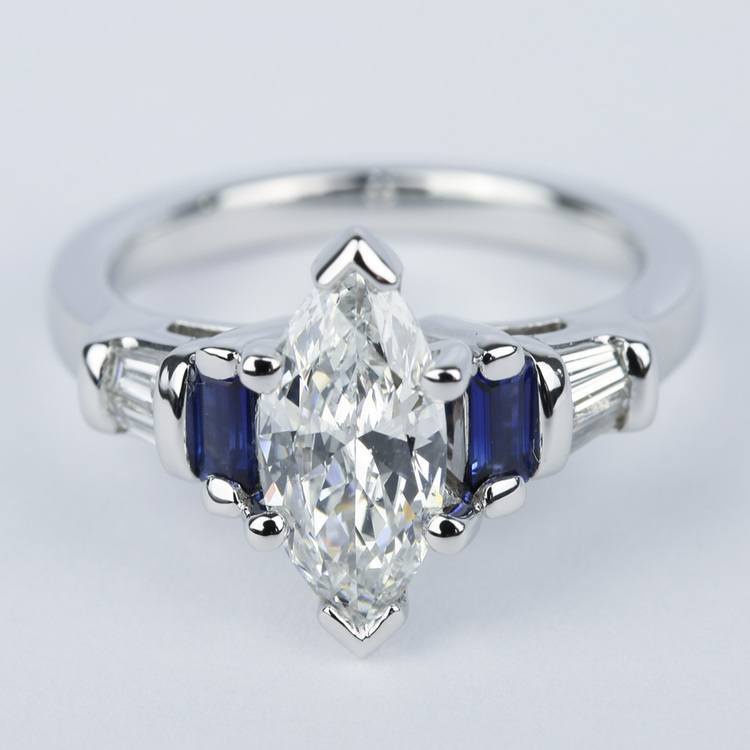
Centerpiece stones can also be selected in a variety of shapes to give a unique touch to your ring. A pear, marquise or heart shaped stone are all amazing choices for fancy shaped centerpieces. If your ring is nodding to vintage inspiration, choose a shape that features step facets like Asscher or emerald shapes. Cushion styles also exude a vintage countenance.
Step 4: Side Stones? Or Solitaire?
After you choose your center stone, you may want to add side stones to your ring design. If your ring design already features amazing details, you can opt for the classic solitaire. When you add side stones, you’ll need to decide on the size of the stones and the type of gemstone. Diamonds always look amazing as a side stone accent, but colorful gemstones also add interest. The side stones you choose should be shapes that complement your center stone. Side stone size, however, is a personal preference…and depends on your ring design. You can go smaller or opt for side accents that are as large as your center stone to create a three-stone ring (representing the past, present and future).
When you build your own engagement ring, the final design is truly a reflection of you. As technology has evolved and allowed custom designs to become more affordable, couples now have the option to integrate personal expression and unique styles into the ring that symbolizes their commitment and love. Design a masterpiece with inspiration from your life, your love and your creative Brilliance.

